Introduction
Flutter is an open-source framework developed by Google for building cross-platform mobile applications. With Flutter, developers can write code once and deploy it on both Android and iOS devices, saving time and effort. In this tutorial, we will guide you through the process of getting started with Flutter and building your first mobile app.
Before we dive into the technical details of Flutter, let’s take a moment to understand why it has gained so much popularity in the mobile app development community. One of the key advantages of Flutter is its ability to deliver native-like performance and user experience across different platforms. This is achieved through Flutter’s unique approach of rendering UI components directly on the canvas, bypassing the native UI controls provided by the underlying operating system.
Another reason for Flutter’s popularity is its hot-reload feature, which allows developers to see the changes they make to the code in real-time, without having to restart the app. This greatly speeds up the development process and enables developers to iterate quickly and efficiently.
Additionally, Flutter provides a rich set of pre-built UI components, called widgets, that can be easily customized to match the design of your app. These widgets follow the Material Design guidelines for Android and the Cupertino design guidelines for iOS, ensuring a consistent and familiar look and feel on both platforms.
Furthermore, Flutter has a strong and active community of developers who contribute to its growth and provide support through various online forums, tutorials, and open-source projects. This means that you can always find help and resources to overcome any challenges you may face while developing your Flutter app.
In this tutorial, we will cover the basics of Flutter, including setting up your development environment, creating a new Flutter project, and building a simple app with a user interface. We will also explore some of the advanced features of Flutter, such as handling user input, making API calls, and integrating third-party libraries.
By the end of this tutorial, you will have a solid foundation in Flutter development and be able to create your own cross-platform mobile apps with ease. So let’s get started and embark on this exciting journey into the world of Flutter!
Step 4: Configure Your IDE
Once you have installed the necessary plugins, you need to configure your IDE to work with Flutter. If you are using Visual Studio Code, you can open the command palette and search for “Flutter: New Project”. This will create a new Flutter project with all the necessary files and folders.
If you are using Android Studio, you can go to “File” > “New” > “New Flutter Project”. This will open a wizard that will guide you through the process of creating a new Flutter project.
Step 5: Test Your Setup
After setting up your IDE, it’s a good idea to test your setup to make sure everything is working correctly. You can do this by creating a new Flutter project and running it on an emulator or a physical device.
To create a new Flutter project, you can use the following command in the terminal:
flutter create my_app
This will create a new Flutter project called “my_app” in the current directory.
To run the project on an emulator or a physical device, you can use the following command:
flutter run
This will start the Flutter development server and launch the app on the selected device.
Building the User Interface
Now that we have our Flutter project set up, let’s start building the user interface for our mobile app. In Flutter, the user interface is defined using a combination of widgets.
Step 1: Open the main.dart File
Open the main.dart file located in the lib directory. This is the entry point of your Flutter app.
Step 2: Remove the Default Code
Remove the default code in the main.dart file and replace it with the following:
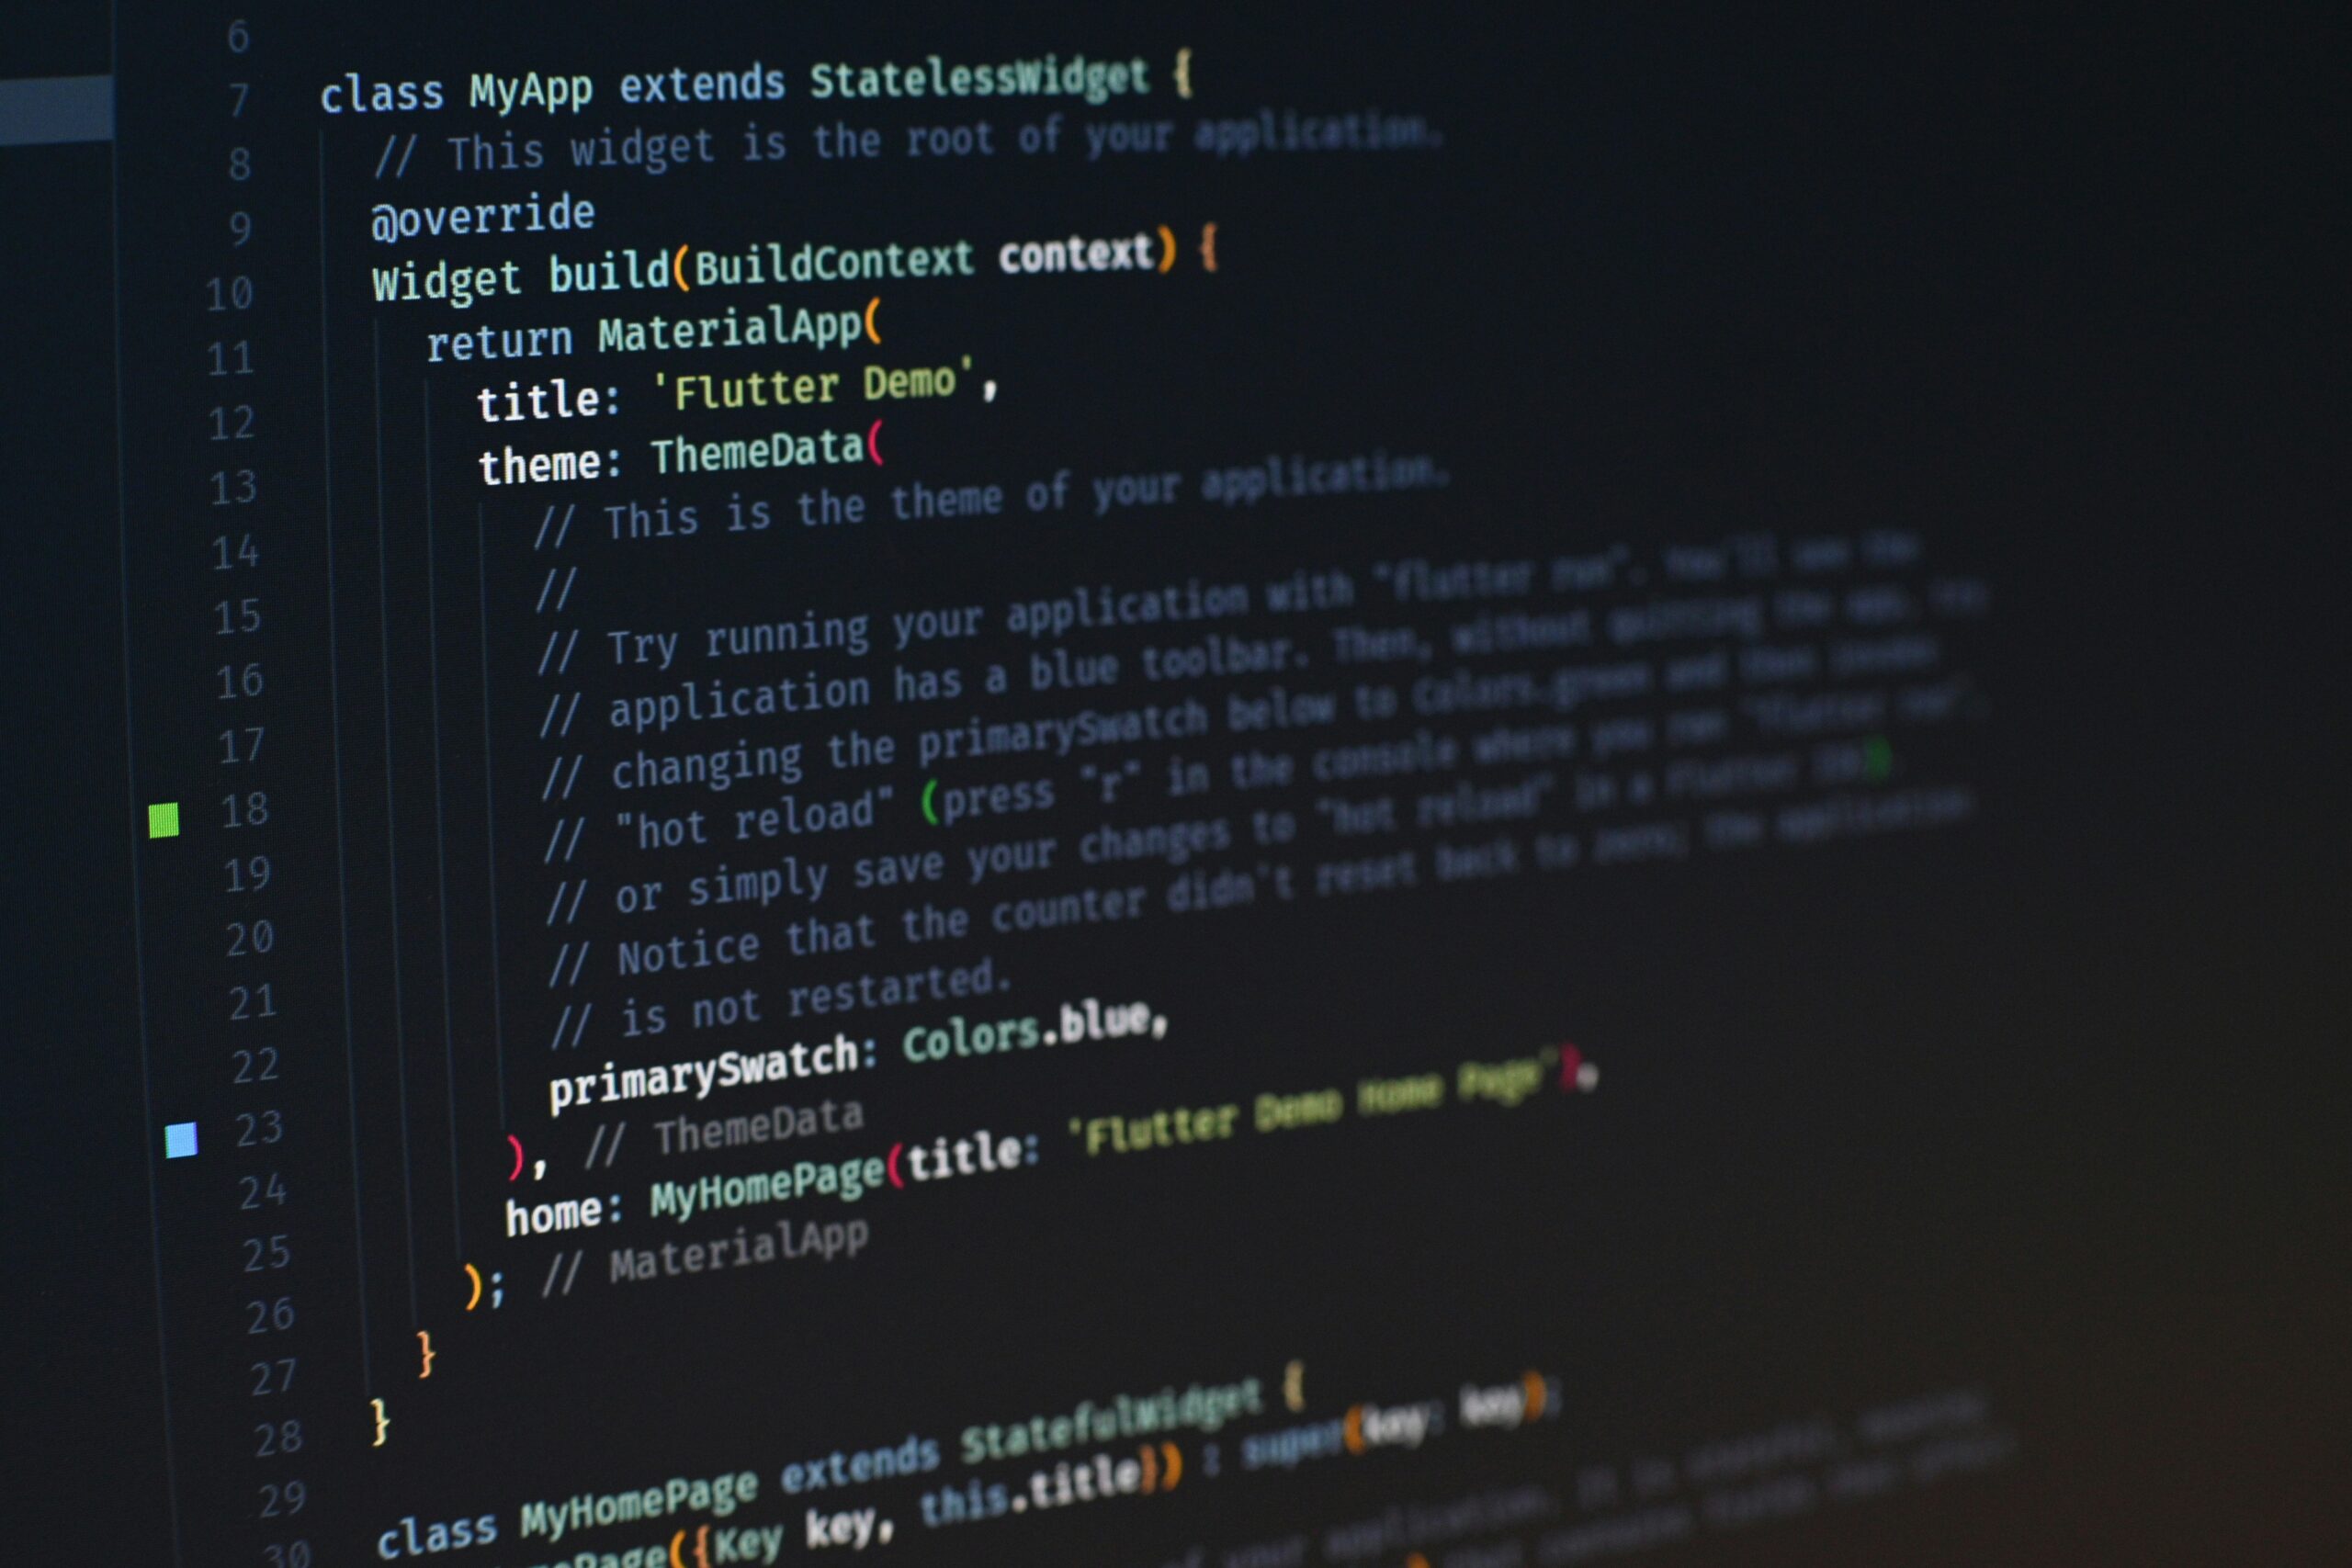
import 'package:flutter/material.dart';void main() {runApp(MyApp());}class MyApp extends StatelessWidget {@overrideWidget build(BuildContext context) {return MaterialApp(title: 'My First App',theme: ThemeData(primarySwatch: Colors.blue,),home: MyHomePage(),);}}class MyHomePage extends StatelessWidget {@overrideWidget build(BuildContext context) {return Scaffold(appBar: AppBar(title: Text('My First App'),),body: Center(child: Text('Welcome to my first Flutter app!',style: TextStyle(fontSize: 24),),),);}}
Step 3: Run the App
Save the changes to the main.dart file and run the app using the following command:
flutter run
Once you have successfully run the app, you will see a basic user interface with an app bar at the top and a centered text widget displaying the message “Welcome to my first Flutter app!” in a font size of 24. This is just a starting point, and you can customize the user interface to fit your specific needs.
In Flutter, the user interface is built using a wide variety of widgets. These widgets can be combined and nested to create complex layouts and interactions. Some common widgets used in Flutter include:
Container: A widget that can contain other widgets and provides properties for customizing its appearance and layout.Text: A widget for displaying text with various styling options.Image: A widget for displaying images.Button: A widget for creating interactive buttons.Listview: A widget for displaying a scrollable list of items.
These are just a few examples, and there are many more widgets available in Flutter. The Flutter documentation provides a comprehensive list of widgets along with examples and usage guidelines.
When building the user interface for your app, you can use a combination of these widgets to create the desired layout and functionality. You can also customize the appearance of the widgets by applying different styles and themes.
In addition to the built-in widgets, Flutter also supports custom widget creation. This allows you to create your own reusable widgets that can be used throughout your app. Custom widgets can be created by extending existing widgets or by combining multiple widgets together.
Overall, Flutter provides a powerful and flexible framework for building user interfaces. With its extensive collection of widgets and support for custom widget creation, you have the tools you need to create beautiful and interactive UIs for your mobile apps.
Adding Interactivity to the App
Now that we have our basic user interface set up, let’s add some interactivity to our app. In Flutter, you can add interactivity by responding to user actions and updating the state of your app.
Interactivity is an essential aspect of any app as it allows users to engage with the app and perform various actions. In this section, we will add a button to our app and handle its press event.
Step 1: Add a Button
To add a button to our app, open the main.dart file and replace the body property of the MyHomePage class with the following code:
body: Center(child: Column(mainAxisAlignment: MainAxisAlignment.center,children: [Text('Welcome to my first Flutter app!',style: TextStyle(fontSize: 24),),SizedBox(height: 20),ElevatedButton(onPressed: () {// Add your code here},child: Text('Click Me'),),],),),
In the above code, we have added a Column widget to center-align its children. Inside the Column, we have a Text widget to display a welcome message and an ElevatedButton widget.
Step 2: Handle Button Press
Now, let’s handle the press event of the button. Add the following code inside the onPressed callback of the ElevatedButton widget:
onPressed: () {showDialog(context: context,builder: (BuildContext context) {return AlertDialog(title: Text('Button Pressed'),content: Text('You have pressed the button.'),actions: [TextButton(onPressed: () {Navigator.of(context).pop();},child: Text('OK'),),],);},);},
In the above code, we are using the showDialog function to display an AlertDialog when the button is pressed. The AlertDialog shows a title, content, and an OK button. When the OK button is pressed, the dialog is dismissed.
Step 3: Run the App
Save the changes to the main.dart file and run the app using the following command:
flutter run
Once the app is running, you will see the welcome message and the button. When you click the button, the AlertDialog will be displayed with the message “You have pressed the button.” Clicking the OK button will dismiss the dialog.
Adding interactivity to your app enhances the user experience and allows users to interact with your app in meaningful ways. In the next section, we will explore more advanced interactivity options in Flutter.